Post by tracy on Oct 15, 2007 18:42:34 GMT -8
My gerbils got jealous of all the UK furries who live in fancy Perfecto tanks with shelves, so I decided to make one! Each tank cost about $75. Here's how to do it.
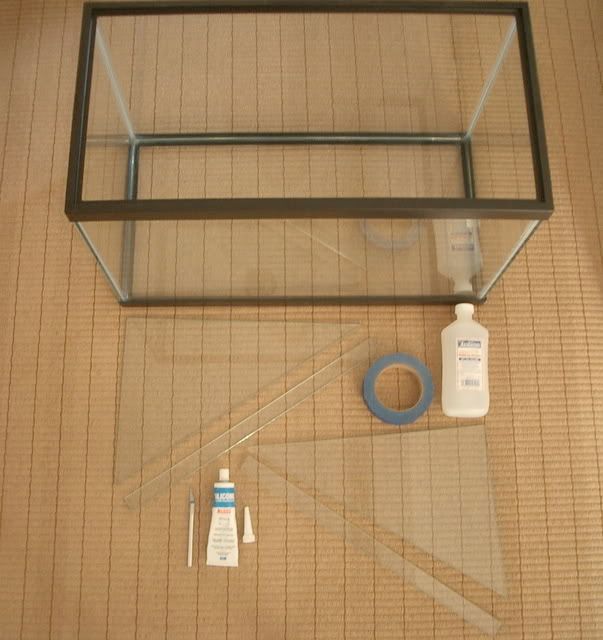
Supplies:
20 gallon high (tall) tank, 12"Wx24"Lx16"D. About $40 at Petco.
2 glass triangles 11"x15.5"x19" and two long rectangles 1"x18.75". Custom cut for about$30 at a local glass and mirror shop. ***Be sure to tell the glass shop that this is for an animal's habitat so every edge must be completely smooth!***
Rubbing (isopropyl) alcohol.
Clear aquarium sealant (silicone). About $6 at Petco.
Masking tape.
Xacto knife or razor blade.
Newspaper.
Paper towels.
Widget or razor blade.
Tape measure.
N.B. Your gerbils will be able to easily reach the inner rim of the plastic tank edge from the top shelf. If they are chewers, you should remove this rim with a utility knife and lightly sand the cut edges.
Measuring:
I placed the shelves 9" and 12" up, measured from the floor (not from inside the tank). Measure and mark with tape both sides of the tank where each shelf will be attached.
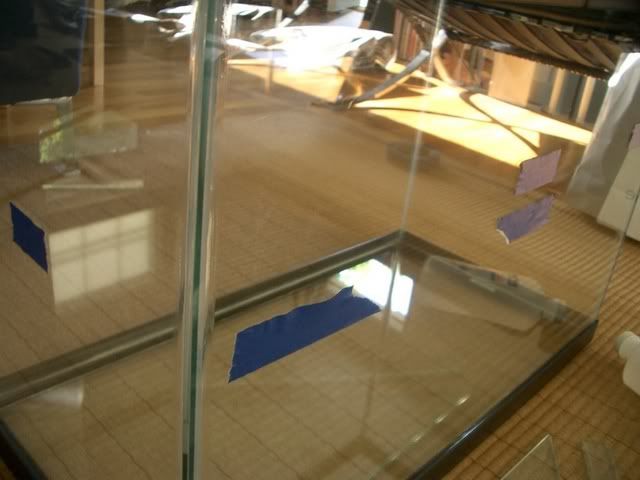
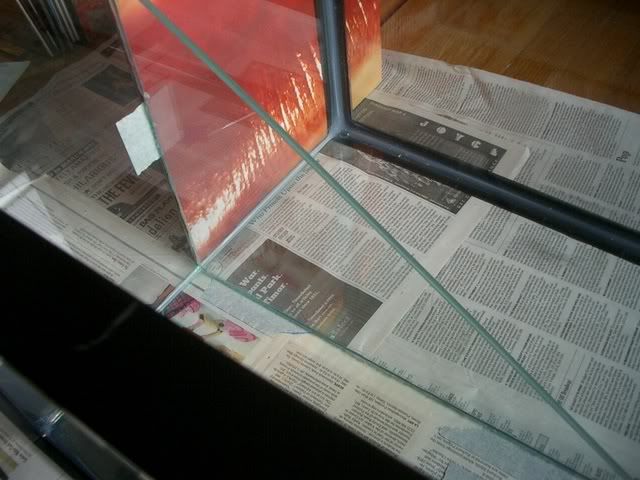
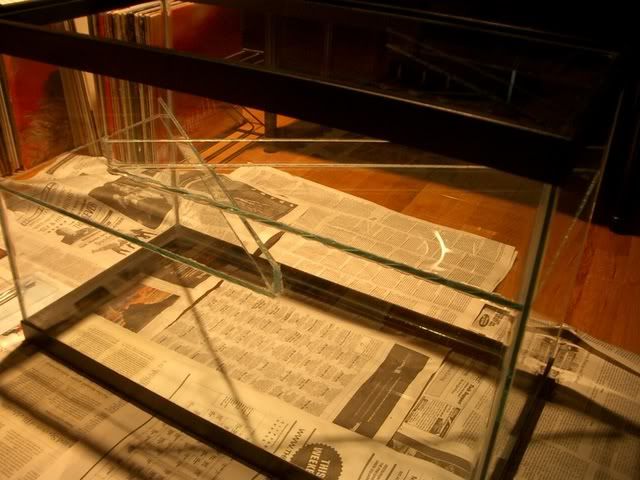
Making Guidelines:
Put the tank on its side and line up the edge of a big sheet of newspaper under the tank parallel to the tape. Use the tape measure to be sure it is even with respect to the top of the tank. This gives a long guide line to follow when you insert the shelves. Tape something with a straight edge along the side of the tank in the same way (I used a record album). Your shelf should be level if you do this carefully.

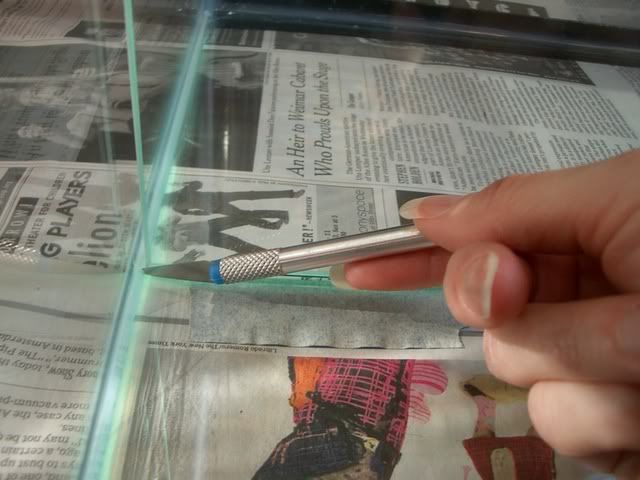
Cutting the Notch:
Set the bottom shelf in to see how it fits. Because of the silicone holding the tank together, you will have to cut out a notch for the shelf to sit square in the corner. Mark the silicone with the knife on both sides of the shelf; then remove the shelf and cut out the notch.

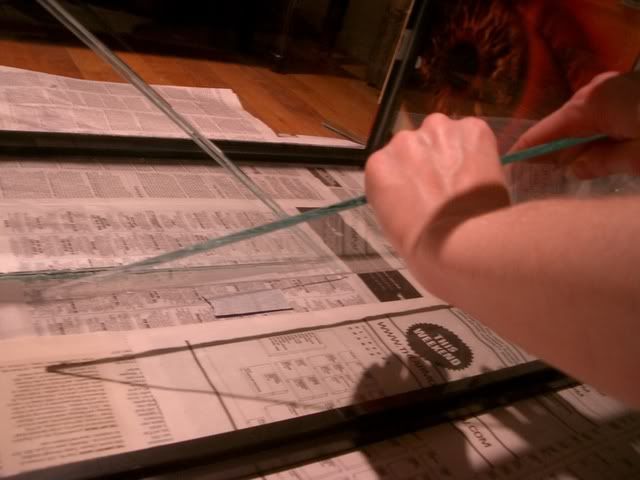
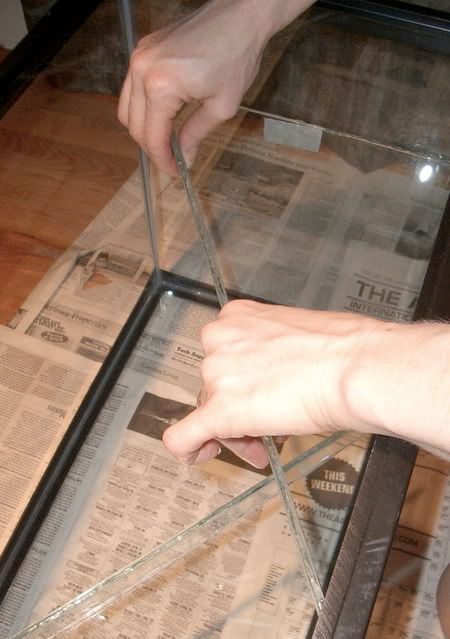
Practice Setting the Shelf:
Set the shelf into the notch and make sure it lines up well with the guidelines and sits at a right angle in the corner, not tilting in either direction. Soon you will be putting silicone on two sides of the shelf and setting it permanently in place. Before you do this, it is a very good idea to practice putting it in place! Once the silicone is on, it is a terrible mess to try to adjust the position of the shelf. You also have to figure out how to hold the shelf without getting silicone all over yourself. I found the best way to set the shelf is to hold it in the air with the edge over the bottom guideline and move the shelf carefully toward the corner. When it is almost there, I set the shelf down on the guideline, make sure the side is lined up with the side guideline, and slide it gently into the notch. See below for more photos of this procedure.
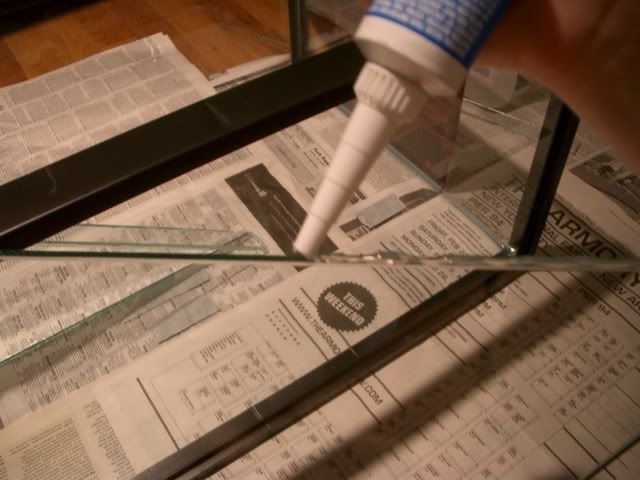
Gluing and Setting the Shelf:
Now you are ready to put on the silicone. Wipe the glass with alcohol, according to the directions on the silicone. Use a moderate amount of silicone; too much will make a mess but too little won't hold the shelf. Once the shelf is in place, you'll need to hold it there for about 5 minutes, until the silicone becomes stable enough to keep it in place. It will take about 24 hours to cure before you do the next step.
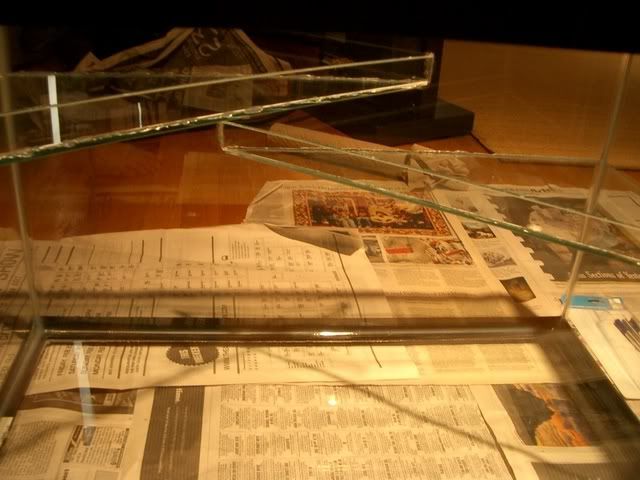
Getting the shelf into position.
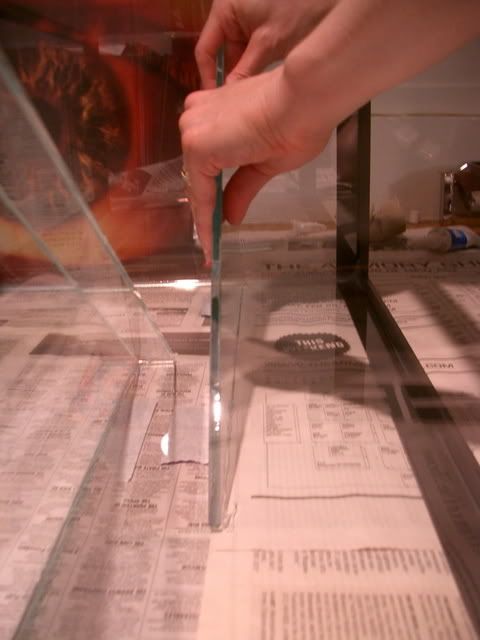
Lined up on the guideline, and sliding into the notch.
Adding the Lip:
The lip sits on top of the shelf, not in front of it. The lip is made just a touch shorter than the shelf to fit properly. Put silicone on one long side and both short sides and set into place. The next day, you can use the widget or razor blade to scrape off any smeared or extra silicone and then get started on the top shelf.
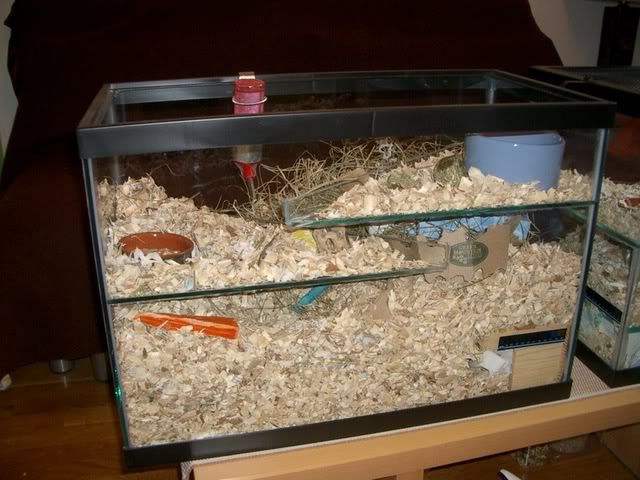
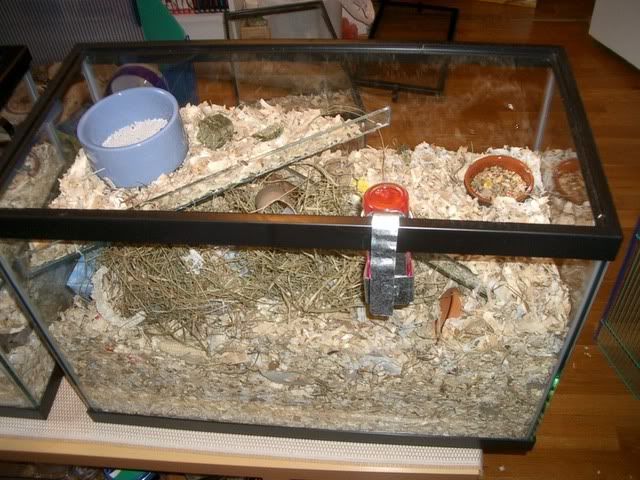
A Fabulous New Tank:
The tank should look something like this when it is done.
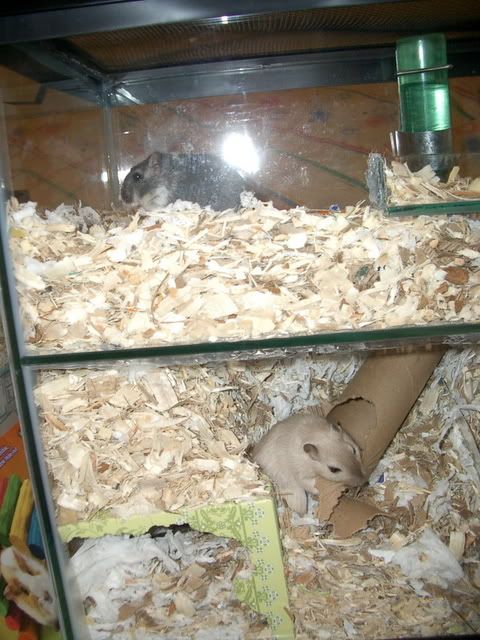
Ready to Move In:
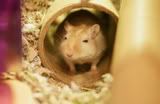
Happy Residents:
Many thanks to Caroline (Caz) for the details regarding measurements of the Perfecto shelves!
Tracy
Supplies:
20 gallon high (tall) tank, 12"Wx24"Lx16"D. About $40 at Petco.
2 glass triangles 11"x15.5"x19" and two long rectangles 1"x18.75". Custom cut for about$30 at a local glass and mirror shop. ***Be sure to tell the glass shop that this is for an animal's habitat so every edge must be completely smooth!***
Rubbing (isopropyl) alcohol.
Clear aquarium sealant (silicone). About $6 at Petco.
Masking tape.
Xacto knife or razor blade.
Newspaper.
Paper towels.
Widget or razor blade.
Tape measure.
N.B. Your gerbils will be able to easily reach the inner rim of the plastic tank edge from the top shelf. If they are chewers, you should remove this rim with a utility knife and lightly sand the cut edges.
Measuring:
I placed the shelves 9" and 12" up, measured from the floor (not from inside the tank). Measure and mark with tape both sides of the tank where each shelf will be attached.
Making Guidelines:
Put the tank on its side and line up the edge of a big sheet of newspaper under the tank parallel to the tape. Use the tape measure to be sure it is even with respect to the top of the tank. This gives a long guide line to follow when you insert the shelves. Tape something with a straight edge along the side of the tank in the same way (I used a record album). Your shelf should be level if you do this carefully.
Cutting the Notch:
Set the bottom shelf in to see how it fits. Because of the silicone holding the tank together, you will have to cut out a notch for the shelf to sit square in the corner. Mark the silicone with the knife on both sides of the shelf; then remove the shelf and cut out the notch.
Practice Setting the Shelf:
Set the shelf into the notch and make sure it lines up well with the guidelines and sits at a right angle in the corner, not tilting in either direction. Soon you will be putting silicone on two sides of the shelf and setting it permanently in place. Before you do this, it is a very good idea to practice putting it in place! Once the silicone is on, it is a terrible mess to try to adjust the position of the shelf. You also have to figure out how to hold the shelf without getting silicone all over yourself. I found the best way to set the shelf is to hold it in the air with the edge over the bottom guideline and move the shelf carefully toward the corner. When it is almost there, I set the shelf down on the guideline, make sure the side is lined up with the side guideline, and slide it gently into the notch. See below for more photos of this procedure.
Gluing and Setting the Shelf:
Now you are ready to put on the silicone. Wipe the glass with alcohol, according to the directions on the silicone. Use a moderate amount of silicone; too much will make a mess but too little won't hold the shelf. Once the shelf is in place, you'll need to hold it there for about 5 minutes, until the silicone becomes stable enough to keep it in place. It will take about 24 hours to cure before you do the next step.
Getting the shelf into position.
Lined up on the guideline, and sliding into the notch.
Adding the Lip:
The lip sits on top of the shelf, not in front of it. The lip is made just a touch shorter than the shelf to fit properly. Put silicone on one long side and both short sides and set into place. The next day, you can use the widget or razor blade to scrape off any smeared or extra silicone and then get started on the top shelf.
A Fabulous New Tank:
The tank should look something like this when it is done.
Ready to Move In:
Happy Residents:
Many thanks to Caroline (Caz) for the details regarding measurements of the Perfecto shelves!

Tracy