


Post by Boz on Nov 25, 2010 12:37:39 GMT -8
DIY Wiremesh Woodless Tank Topper
[edit 10/1/22 - mod mpd, Note to any new or prospective gerbil owners, times have moved on in some areas, particularly wheels, please don't use the wheels pictured below!
See this thread for why.]
Tank toppers are a hot topic in the gerbil world and I notice a lot of people asking questions about where to get them for cheap or building one! Some people are not handy with a saw or do not have the tools to use wood. The solution? A Woodless tank topper! Just to warn, woodless is a little less stable, however it's strong enough for gerbils. I highly doubt it'll break or anything! It just tends to "move" around more.
Hope this isn't too confusing!!! And I hope it helps someone! ;D Got any questions, please ask!! I know a few things can be confusing!
[edit 10/1/22 - mod mpd, Note to any new or prospective gerbil owners, times have moved on in some areas, particularly wheels, please don't use the wheels pictured below!
See this thread for why.]
Tank toppers are a hot topic in the gerbil world and I notice a lot of people asking questions about where to get them for cheap or building one! Some people are not handy with a saw or do not have the tools to use wood. The solution? A Woodless tank topper! Just to warn, woodless is a little less stable, however it's strong enough for gerbils. I highly doubt it'll break or anything! It just tends to "move" around more.
- First things first, you have to build the base! Please refer to DIY Wiremesh Tank Lid and build the base/lid of the topper!
- Next, I want to encourage you to PLEASE read through the whole tutorial before you start. It will make more sense rather then reading it the first time when you are just beginning.
- Now, once you finish that we'll get down to tank topper building business. For this tutorial I am using a 10 gallon tank, but work with your own size tank.
Tools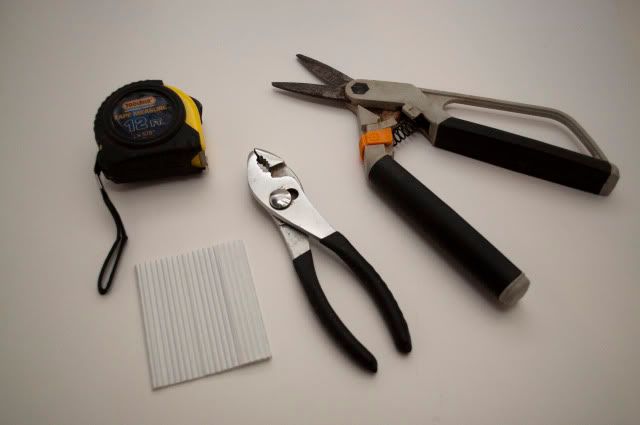
- Wiremesh (either the 1/2inch squares or 1/4inch squares)
- Pliers
- Wire Cutters
- Twist Ties
- Tape Measure
- Wiremesh (either the 1/2inch squares or 1/4inch squares)
- Next we are going to figure out how much wiremesh we are going to need for the left, right and back side of the tank. Take the tape measure and measure around the top of the tank, so you'll measure how deep it is on the left and right side (which will be the same) and how wide it is. So if my tank is 12 inches deep and 20 inches wide, I'll need 44inches of wiremesh.
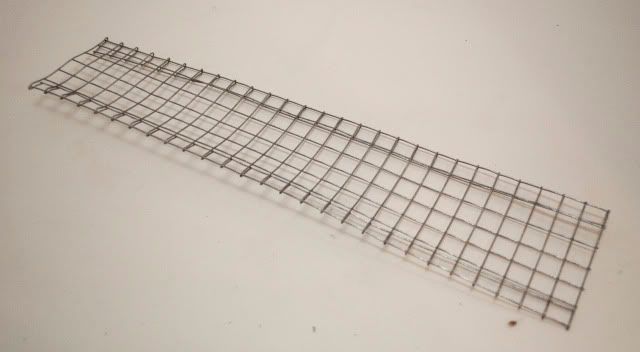
So now, measure and cut out your wiremesh. Don't worry about height right now, as long as it's at least as deep as your tank is plus a foot high! Below is what I cut.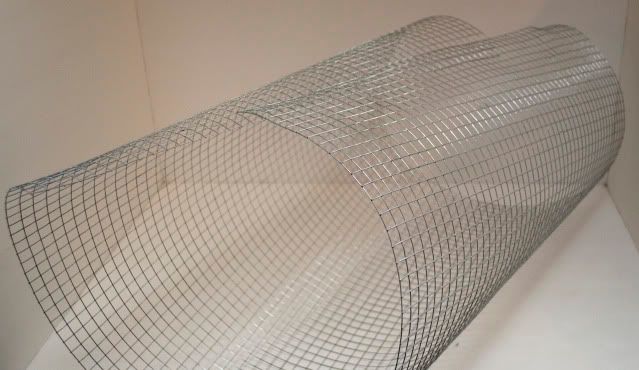
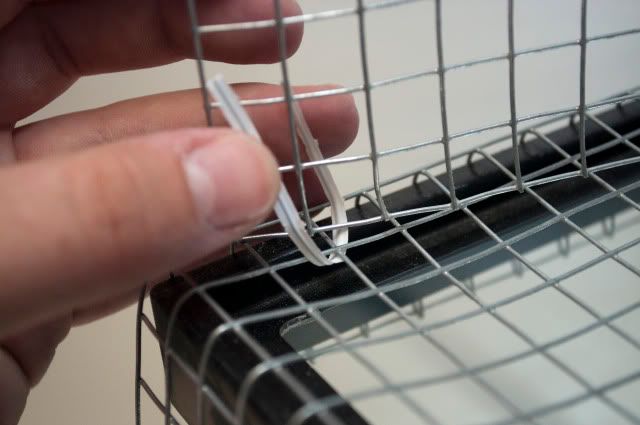
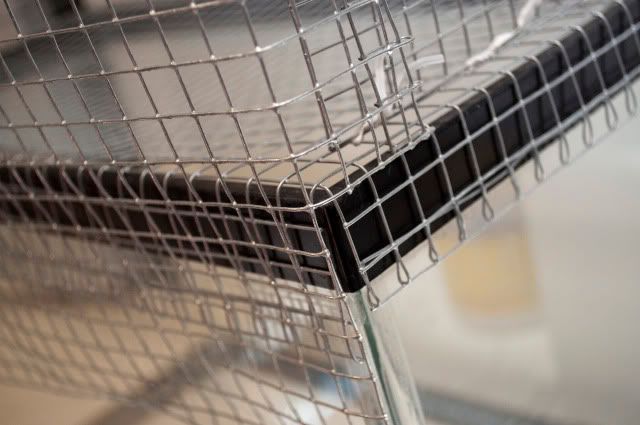
- Next, take your wiremesh and line it up like so on your Tank Lid:
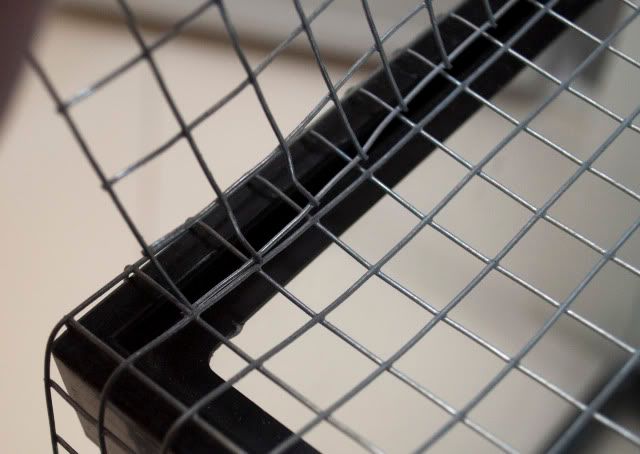
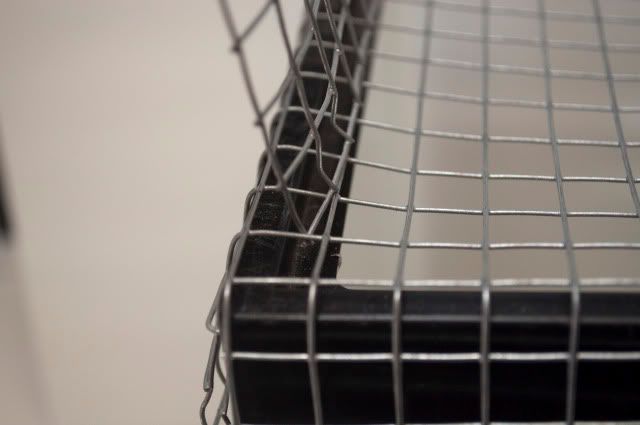
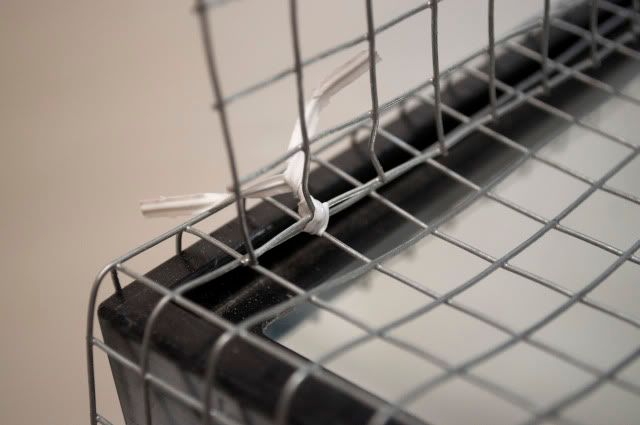
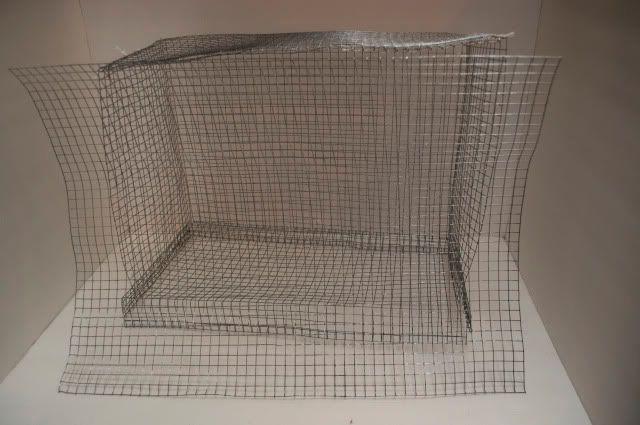
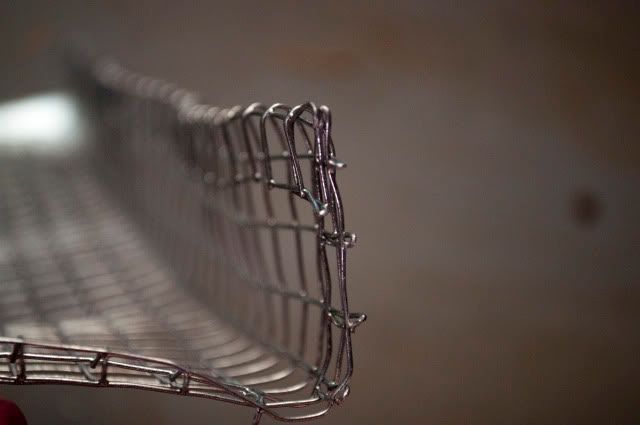
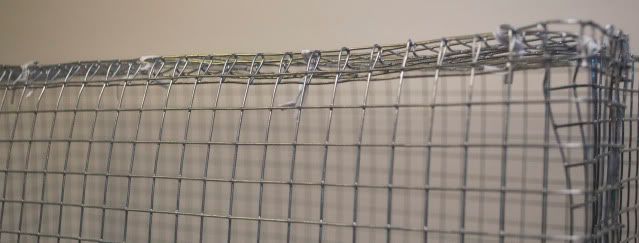
Follow it to the back of the lid. And then bend it. Do that for the other corner.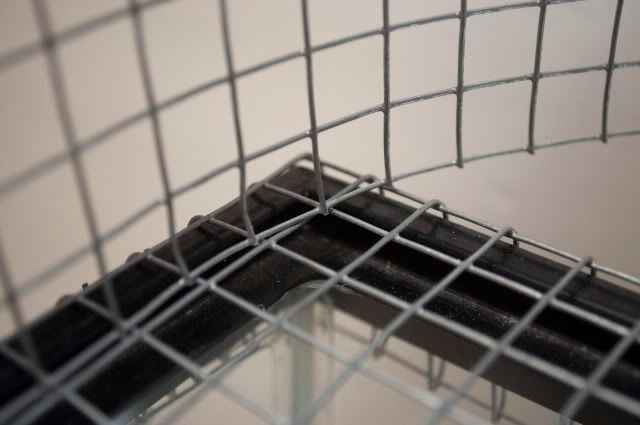
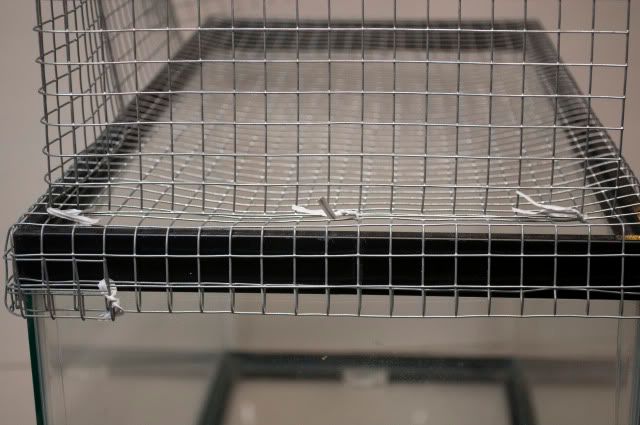
After that the mesh will look like this: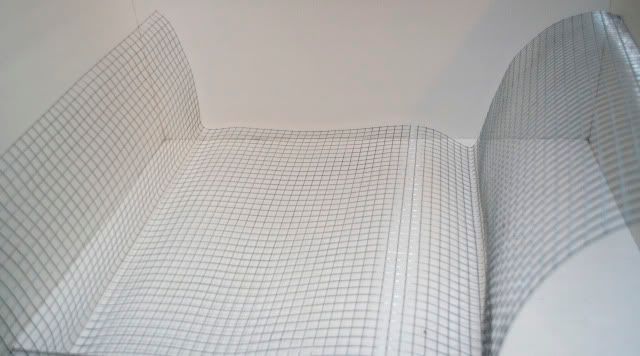
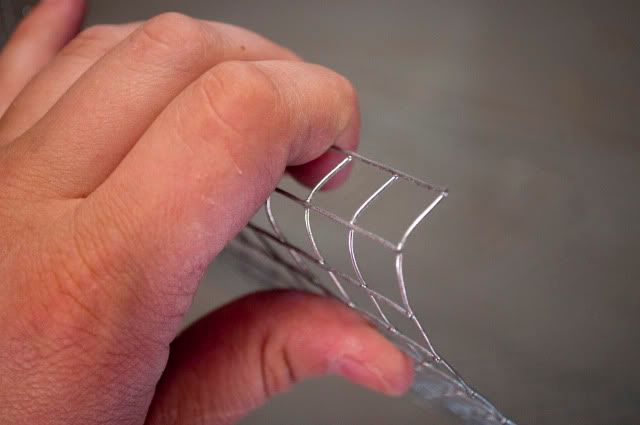
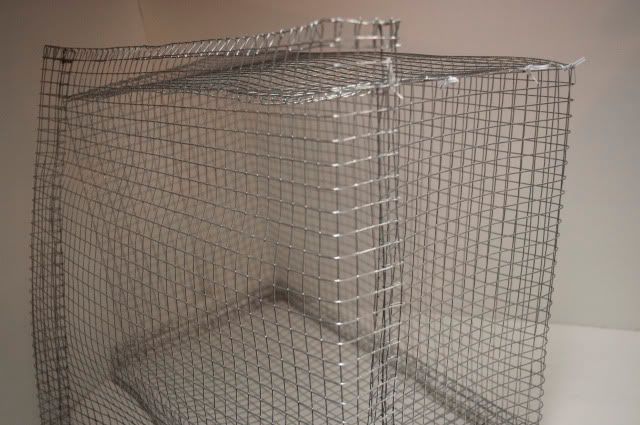
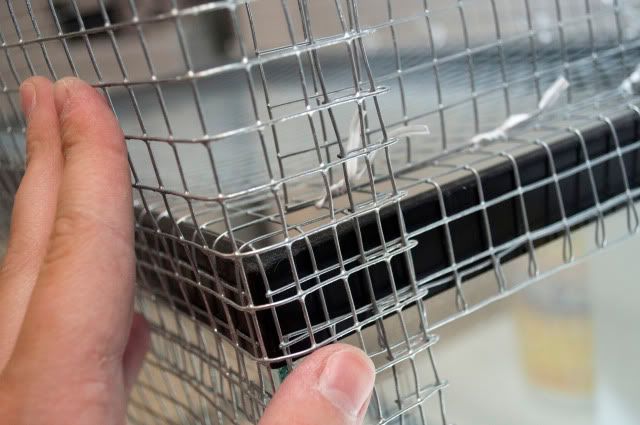
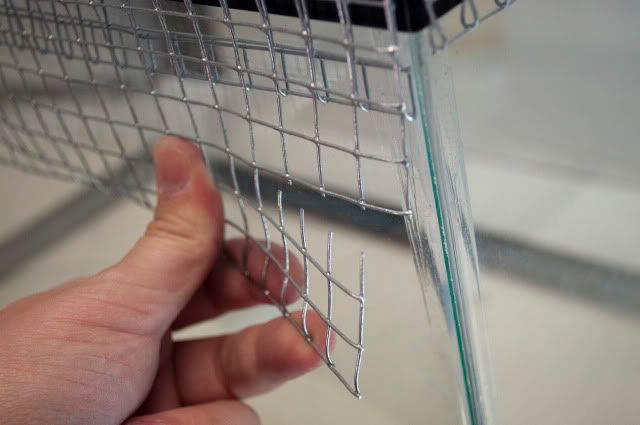
- This next part is tricky and might get some of you confused. Once you know what I'm talking about it's easy! What we are going to do is make the top of the tank topper. I know my 10 gallon top is 10 inches deep, so what I am going to do is measure our my wiremesh so that instead of cutting a whole another peice, I'm going to use the same peice. That's probably so confusing! Okay, I'll give you a photo of what we are going to do:
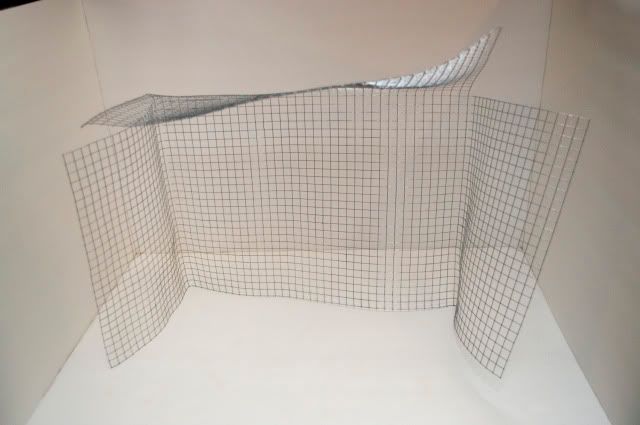
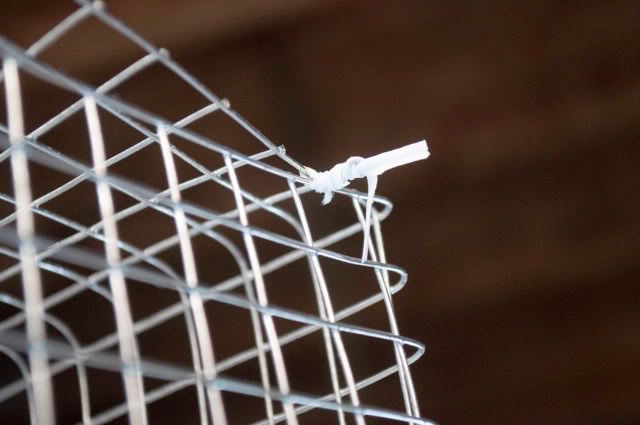
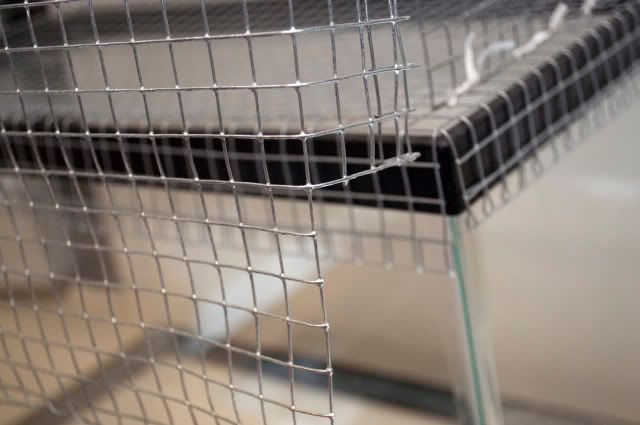
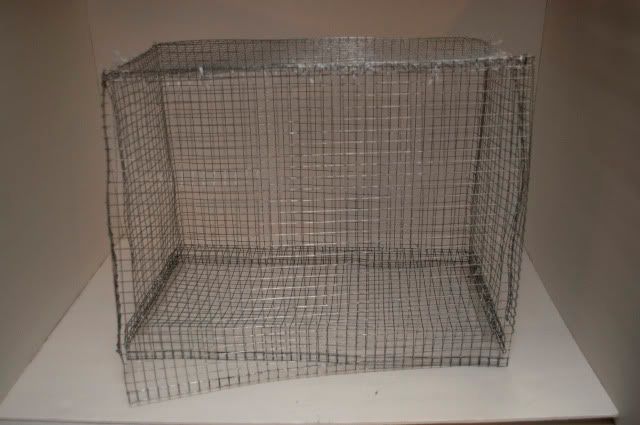
See that? I measured from the top of the piece of wiremesh 10 inches, which is how wide it is. I actually would encourage you to measure at least 2 inches past that. You can see the top coming together! - Next we are going to start attaching the topper to the lid:
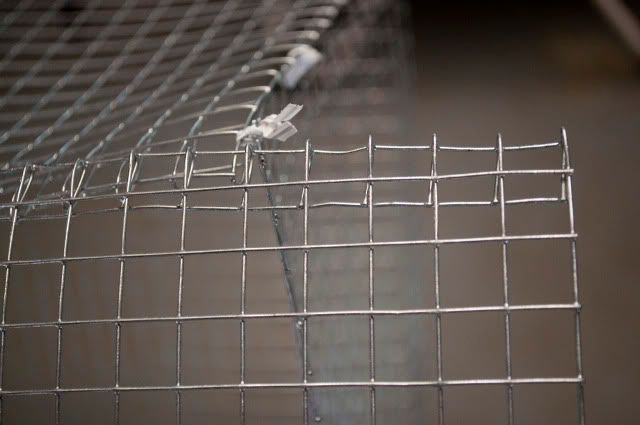
All attached: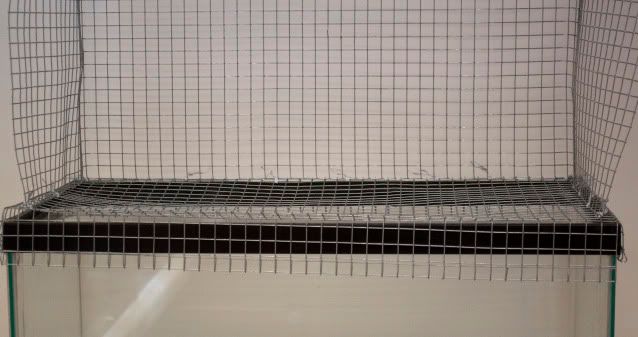
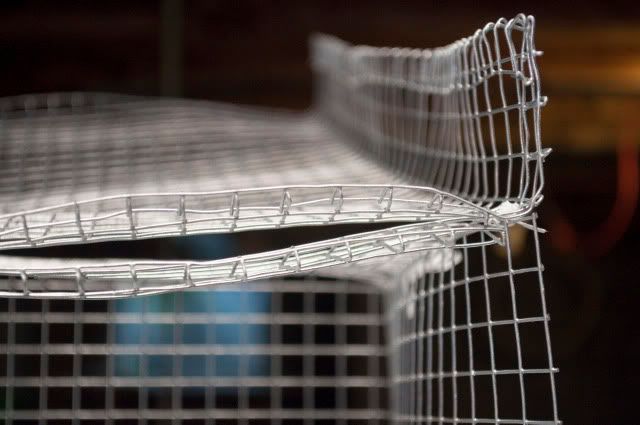
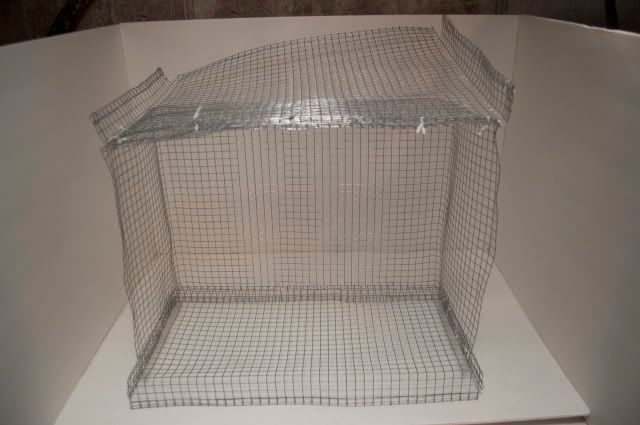
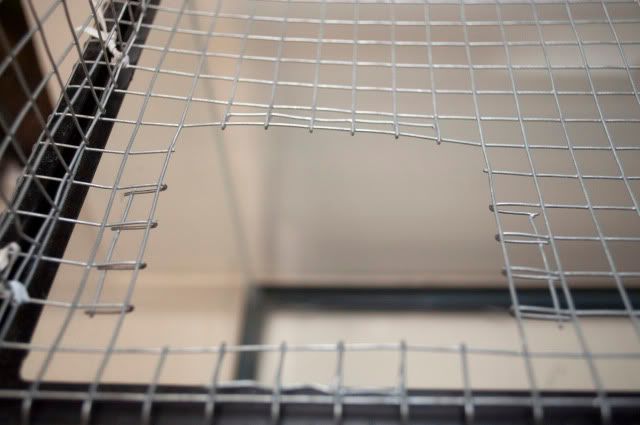
- Now we are going to close off the top of the topper like this:
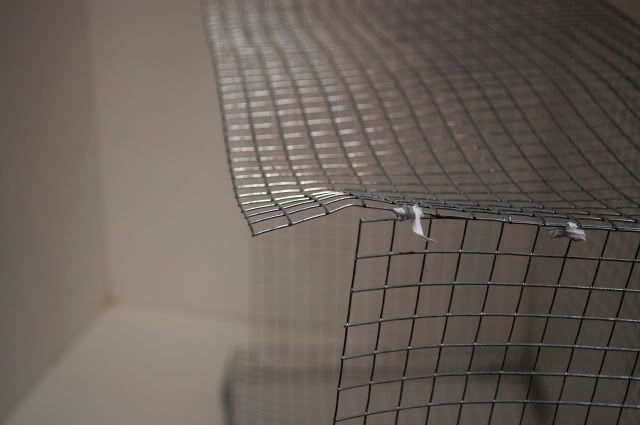
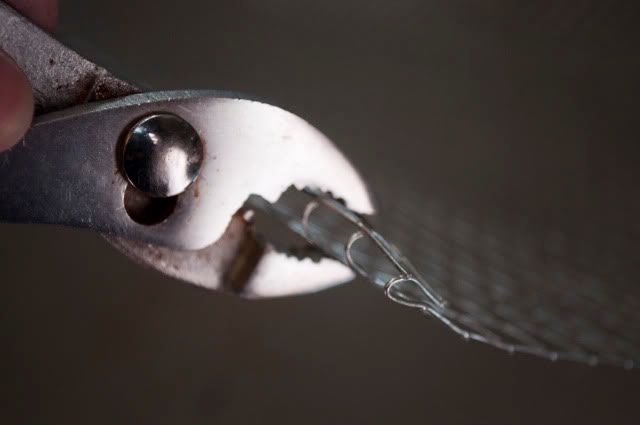
- Now see in the previous picture how we have that extra mesh hanging off? We are going to fold that under so there are no sharp edges
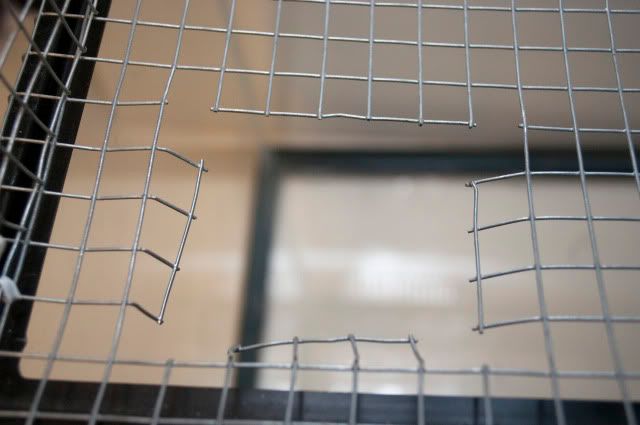
- Next we are going to put the door on! We need to measure it out. I personally prefer a door that opens up all the way. I can easily get in the topper! You want to measure it out so that it's 2 inches more on each side (so 4 inches taller and 4 inches wider).
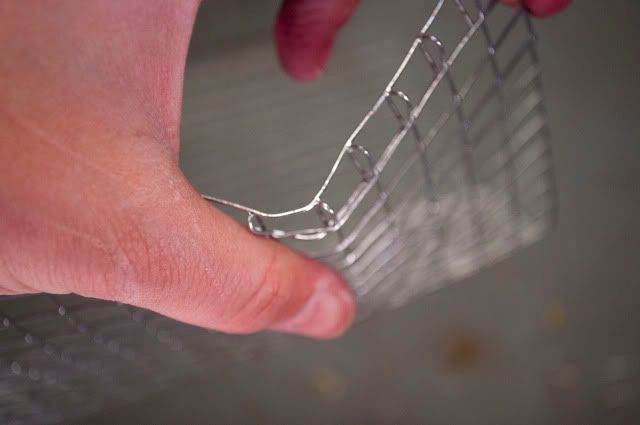
- Now you want to fold over all the sides of the door like so:
- Now you got to measure out the door for the sides. We are going to be folding the door so that it kind of wraps around the front of the topper.
Repeat that for the opposite side of the door.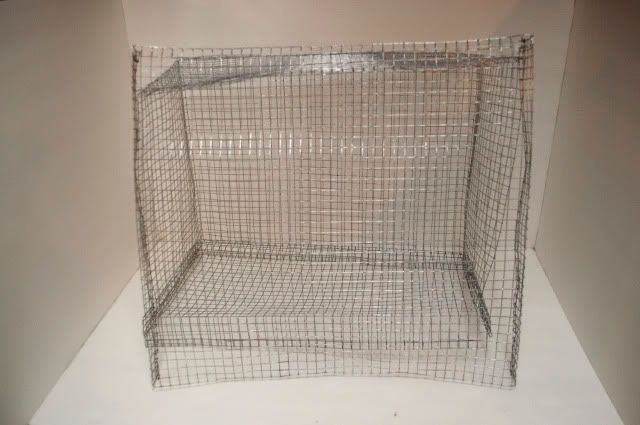
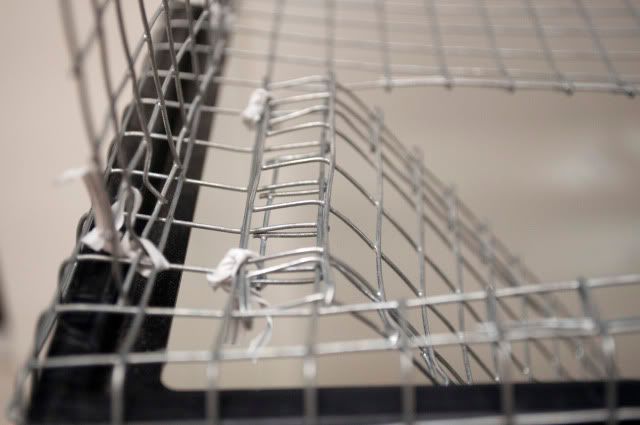
- Now we are going to attach the door so it opens up. Attach the door with the twist ties (or zip ties). But don't attach it tight! Loose, but not too loose. This part can be tricky. I took the door and laid it on top of the topper and tied it on. Made it easier.
Attached: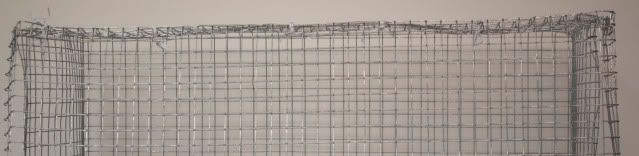
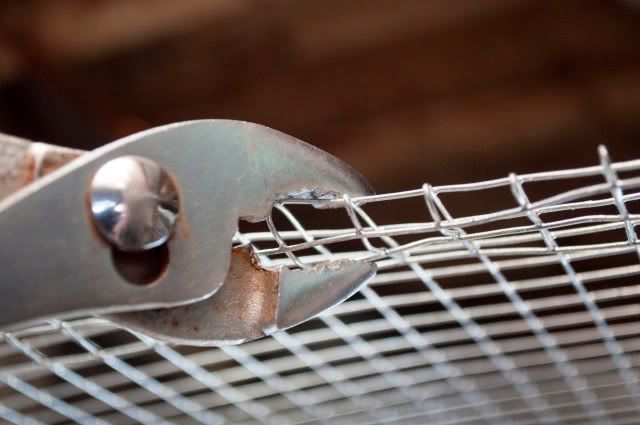
- Not done with the door yet! I know, so much! Now we got to cut the sides:
Repeat for the other side. - Now for the bottom of the door, mine was a little long, so I trimmed it up. Then folded the edge over like I did with the sides so that I won't get scratched.

To keep the door shut I just use clamps like these:
pinkinkstudios.net/wp-content/uploads/2009/11/Spring-Clamps.jpg - Oh my goodness!!!!! Look at your topper!!
- Now we need to make a ladder and a hole so the gerbils can get to the topper! For a ladder, it's easy! This is mine:
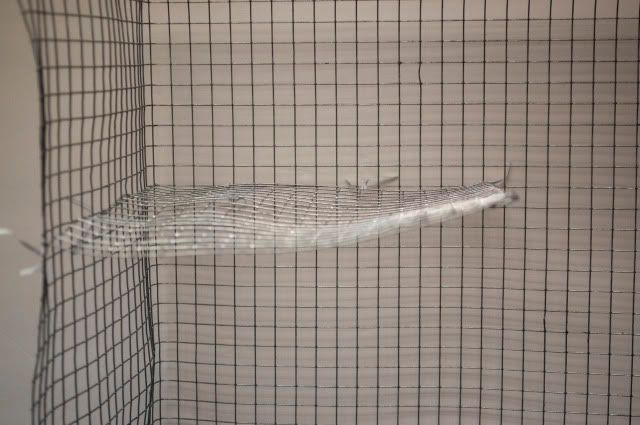
- This is the hole I cut:
- Attach the ladder:
And that's it!!!!! Unless of course you want to add some shelves and stuff!
- Cut shelves to whatever size you'd like!
- Now you'll probably notice that the corner in the front is going to bend because nothing is holding it up. I have a solution!
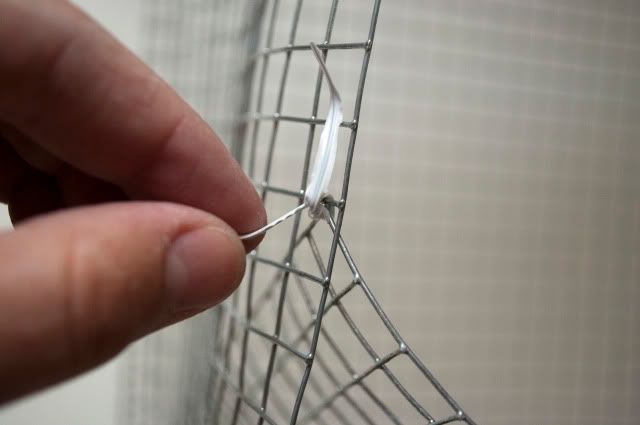
Cut a piece of wire like this: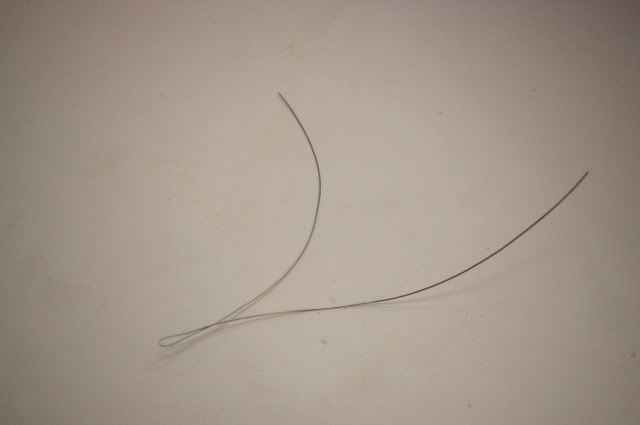
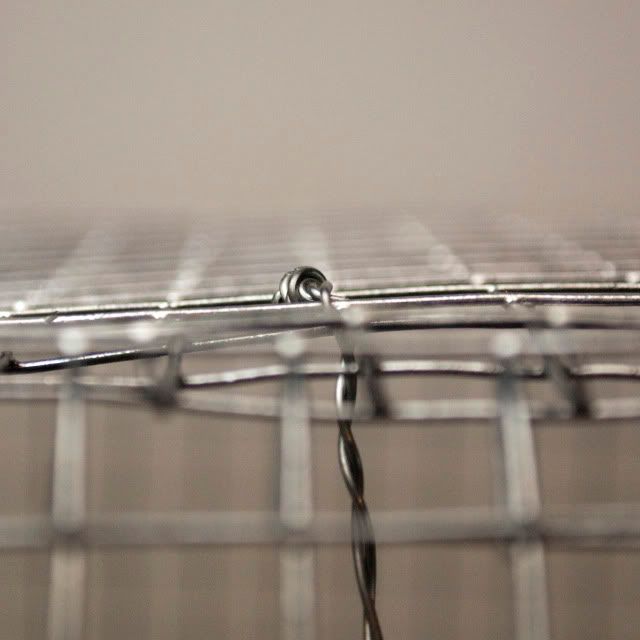
Then you'll attach it to the shelve corner and twist it (so no limbs or tails can get caught).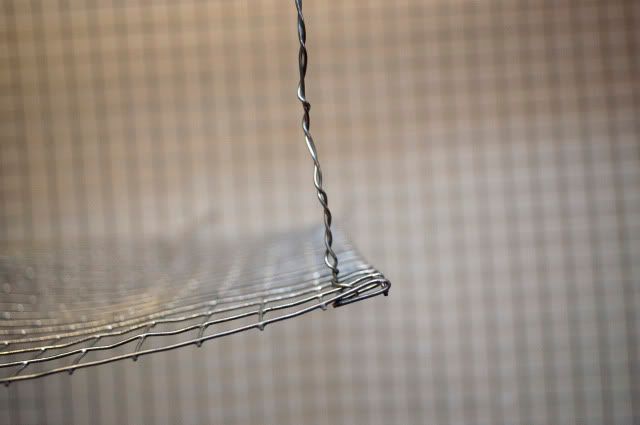
Attach to the top: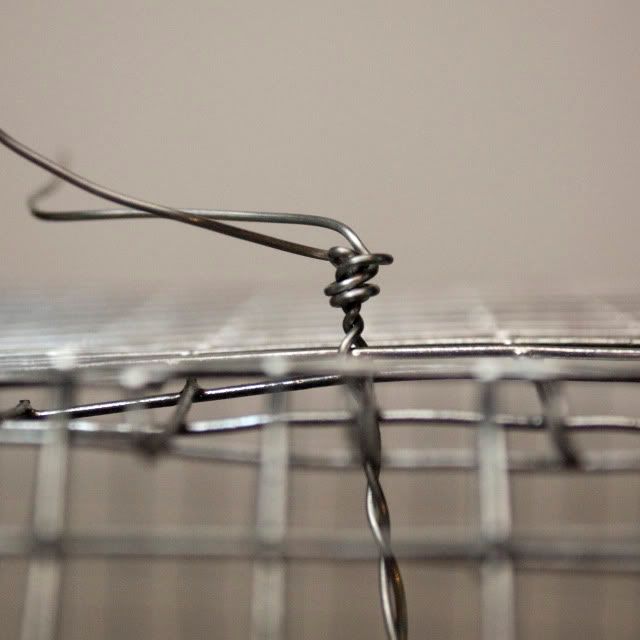
Trim & Fold down:
Complete!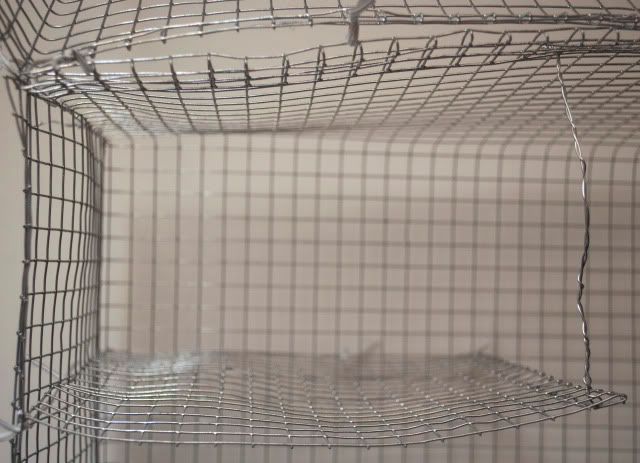
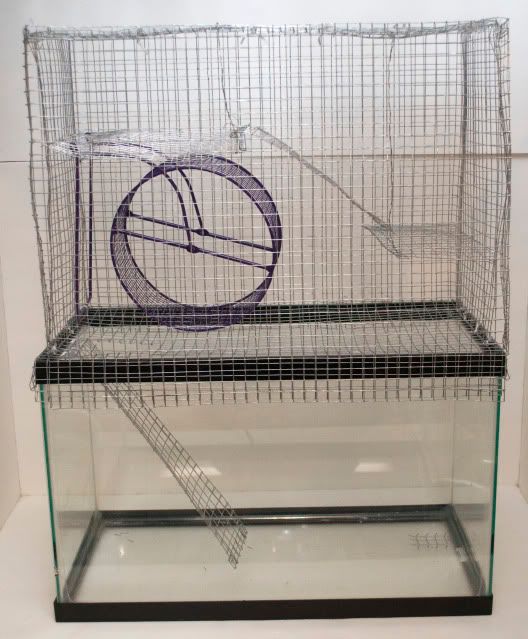
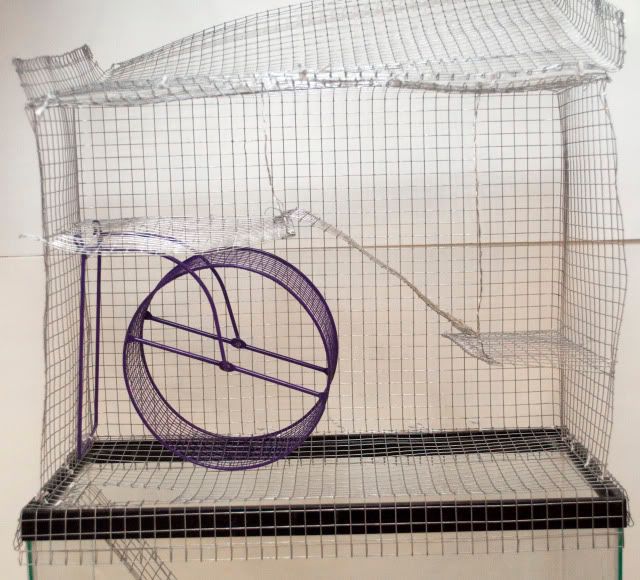
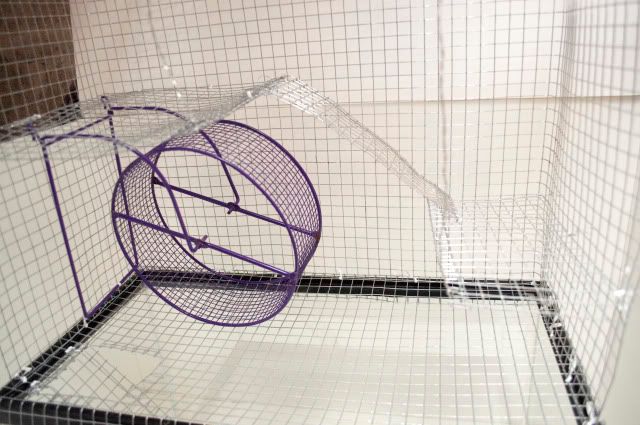
- Now, add another shelve or two, add ladders, and maybe a wheel if you got one!! This is my finished topper!

Hope this isn't too confusing!!! And I hope it helps someone! ;D Got any questions, please ask!! I know a few things can be confusing!


 ), late 70s