Post by RitzieAnn on Nov 26, 2007 20:33:48 GMT -8
Here's a guide to "building" a bin cage for your gerbils. They're cheap, and super light weight. You can also get a huge one for WAY less than the price of a tank. Of course it's plastic though, so you'd have to keep a watch out for any chewing or excessive digging.
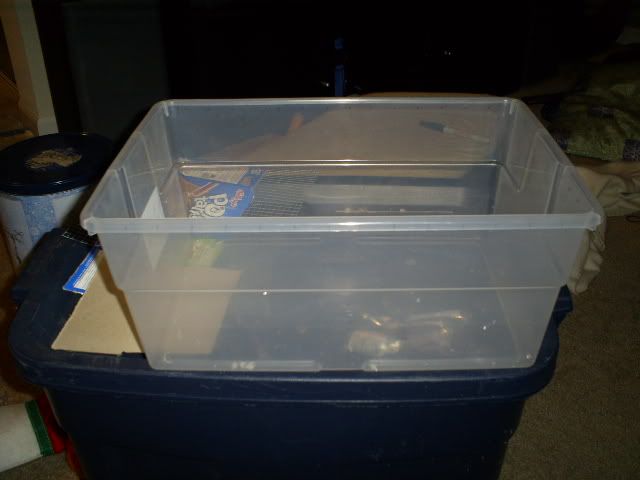
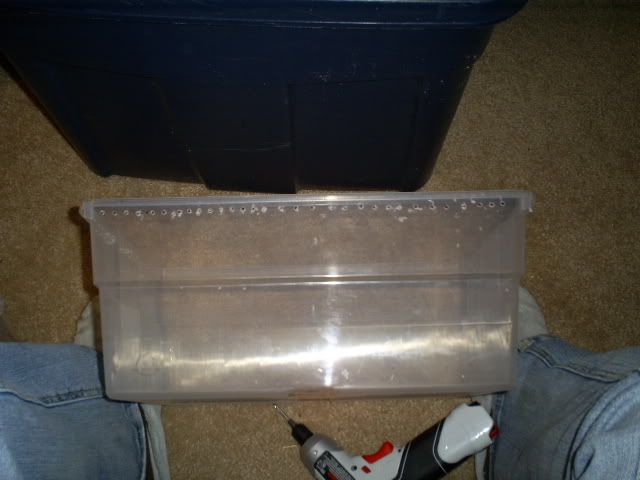
You'll need a plastic bin-
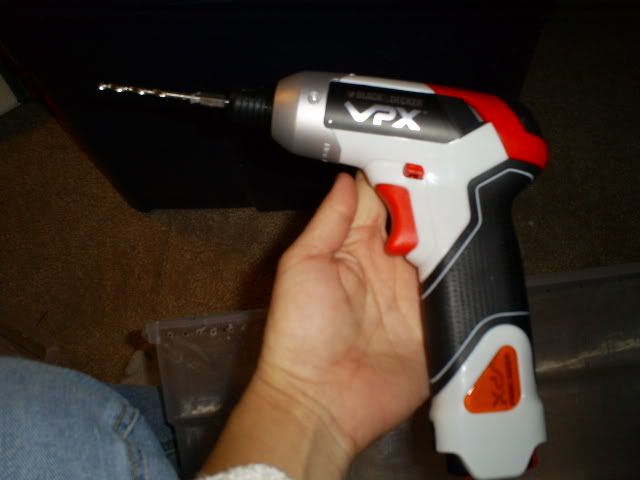
A Power drill-
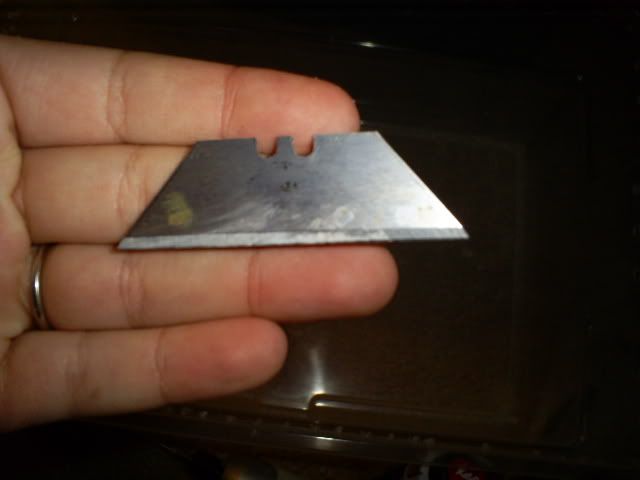
and a straight edge razor blade
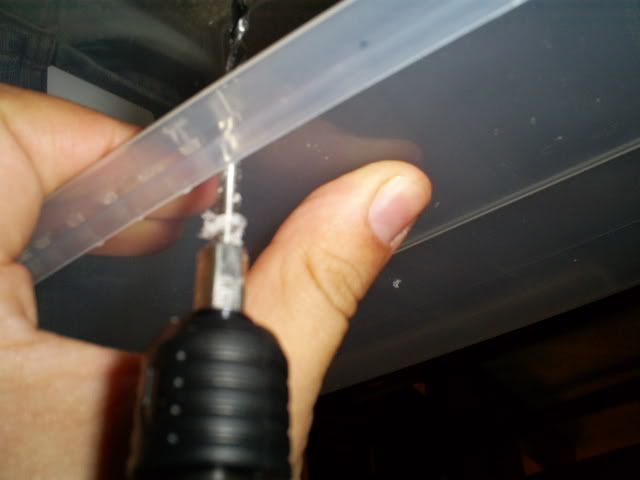
Ok, so now we get started! I like to hold the bin between my feet for extra support to prevent it from slipping.
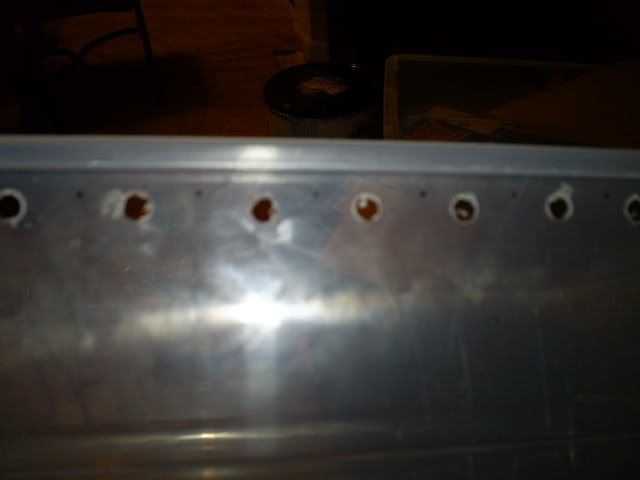
You can "eye" where you put the holes, or you can measure it out. I measure every inch, and add a hole in between, so I've got hole every half inch.
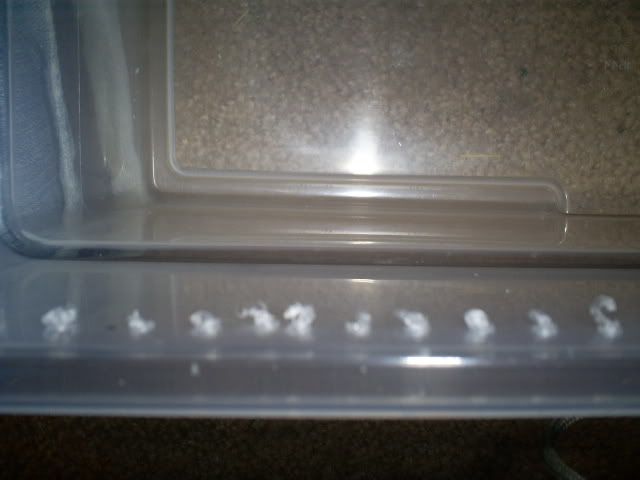
*Mine looks funny because I had to switch drills half way through, that's why some holes are bigger than others. Sorry.
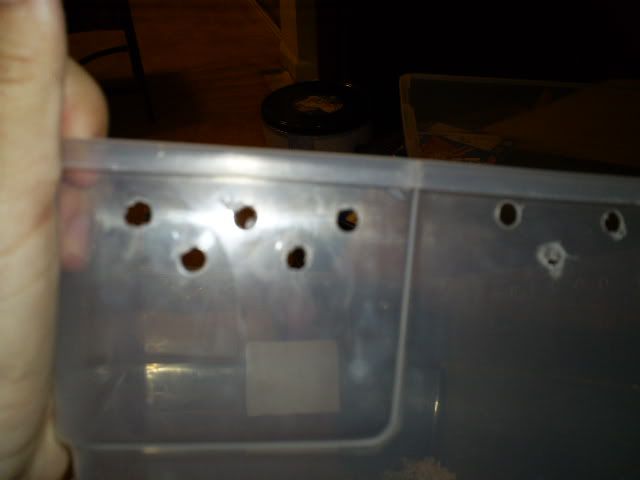
When you drill, make sure you support the plastic or else it will crack. [edit, mod mpd, place a block of wood on the back side to drill into, it shouldn't crack then].
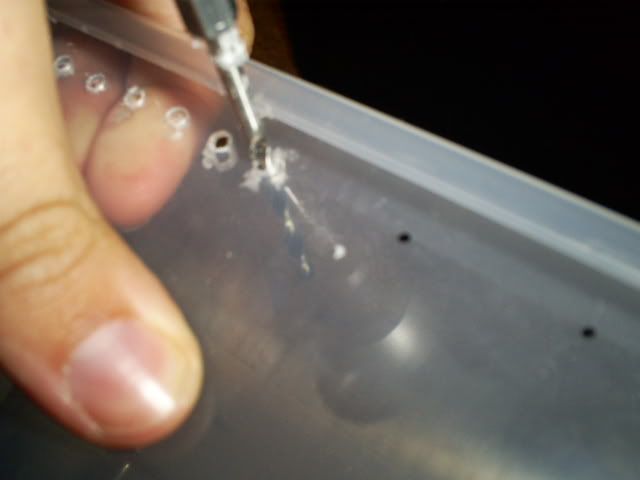
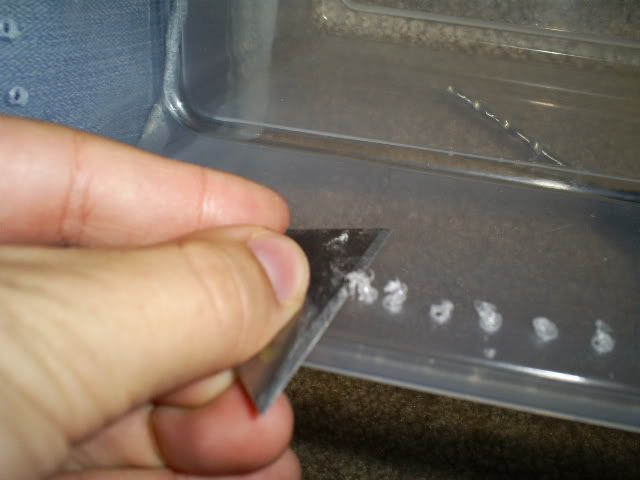
And once you get all your holes drilled, then you'll need to use your razor to trim off all the "left overs" from drilling
OH! And for the lid- Just drill a hole in it for the waterbottle (if yours has a strait spout) I drilled mine a *tiny* bit too small so it would hold the bottle upright.
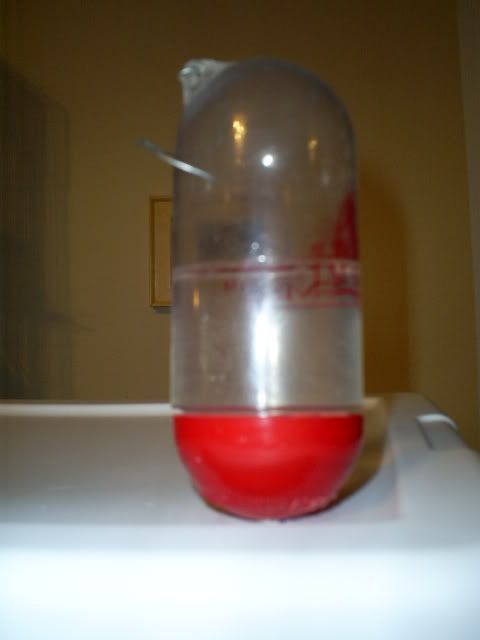
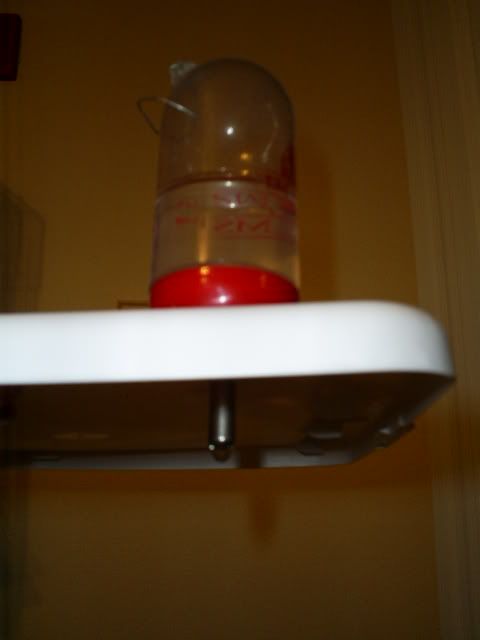
If you've got a bent spout on your bottle, make sure you factor in the bedding depth before you drill a hole for it.
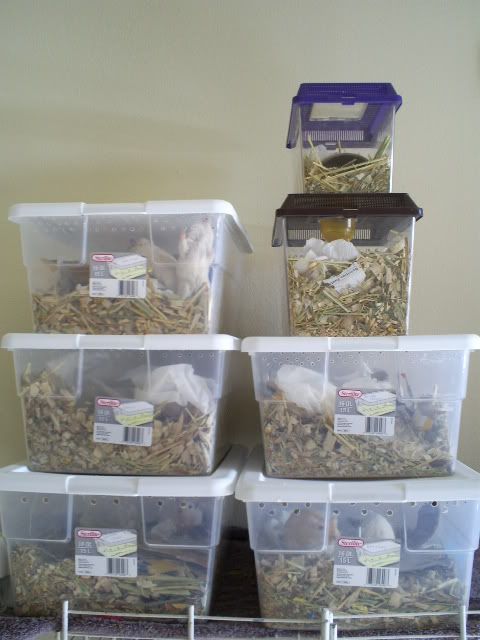
And your final product will look something similar to this....
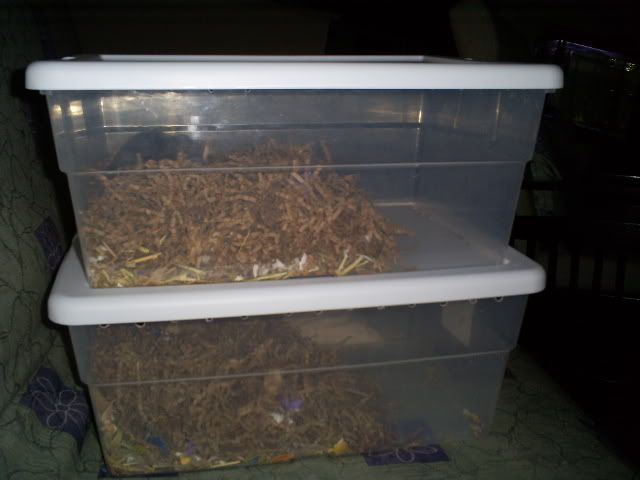
Very very important: before you leave your gerbils in their new bin cage for a long extended time- be sure you have enough air holes! If it starts looking a little "foggy" in there- you need MORE.
NOTE: The bin cages I photographed for this guide are not suitable for permanent housing. These are the temporary ones I made for when we drive back home for the holiday. My gerbils will only be in there 12 days maximum.
You'll need a plastic bin-
A Power drill-
and a straight edge razor blade
Ok, so now we get started!
 I like to hold the bin between my feet for extra support to prevent it from slipping.
You can "eye" where you put the holes, or you can measure it out. I measure every inch, and add a hole in between, so I've got hole every half inch.
*Mine looks funny because I had to switch drills half way through, that's why some holes are bigger than others. Sorry.
When you drill, make sure you support the plastic or else it will crack. [edit, mod mpd, place a block of wood on the back side to drill into, it shouldn't crack then].
And once you get all your holes drilled, then you'll need to use your razor to trim off all the "left overs" from drilling
OH! And for the lid- Just drill a hole in it for the waterbottle (if yours has a strait spout) I drilled mine a *tiny* bit too small so it would hold the bottle upright.
If you've got a bent spout on your bottle, make sure you factor in the bedding depth before you drill a hole for it.
And your final product will look something similar to this....
Very very important: before you leave your gerbils in their new bin cage for a long extended time- be sure you have enough air holes! If it starts looking a little "foggy" in there- you need MORE.
NOTE: The bin cages I photographed for this guide are not suitable for permanent housing. These are the temporary ones I made for when we drive back home for the holiday. My gerbils will only be in there 12 days maximum.